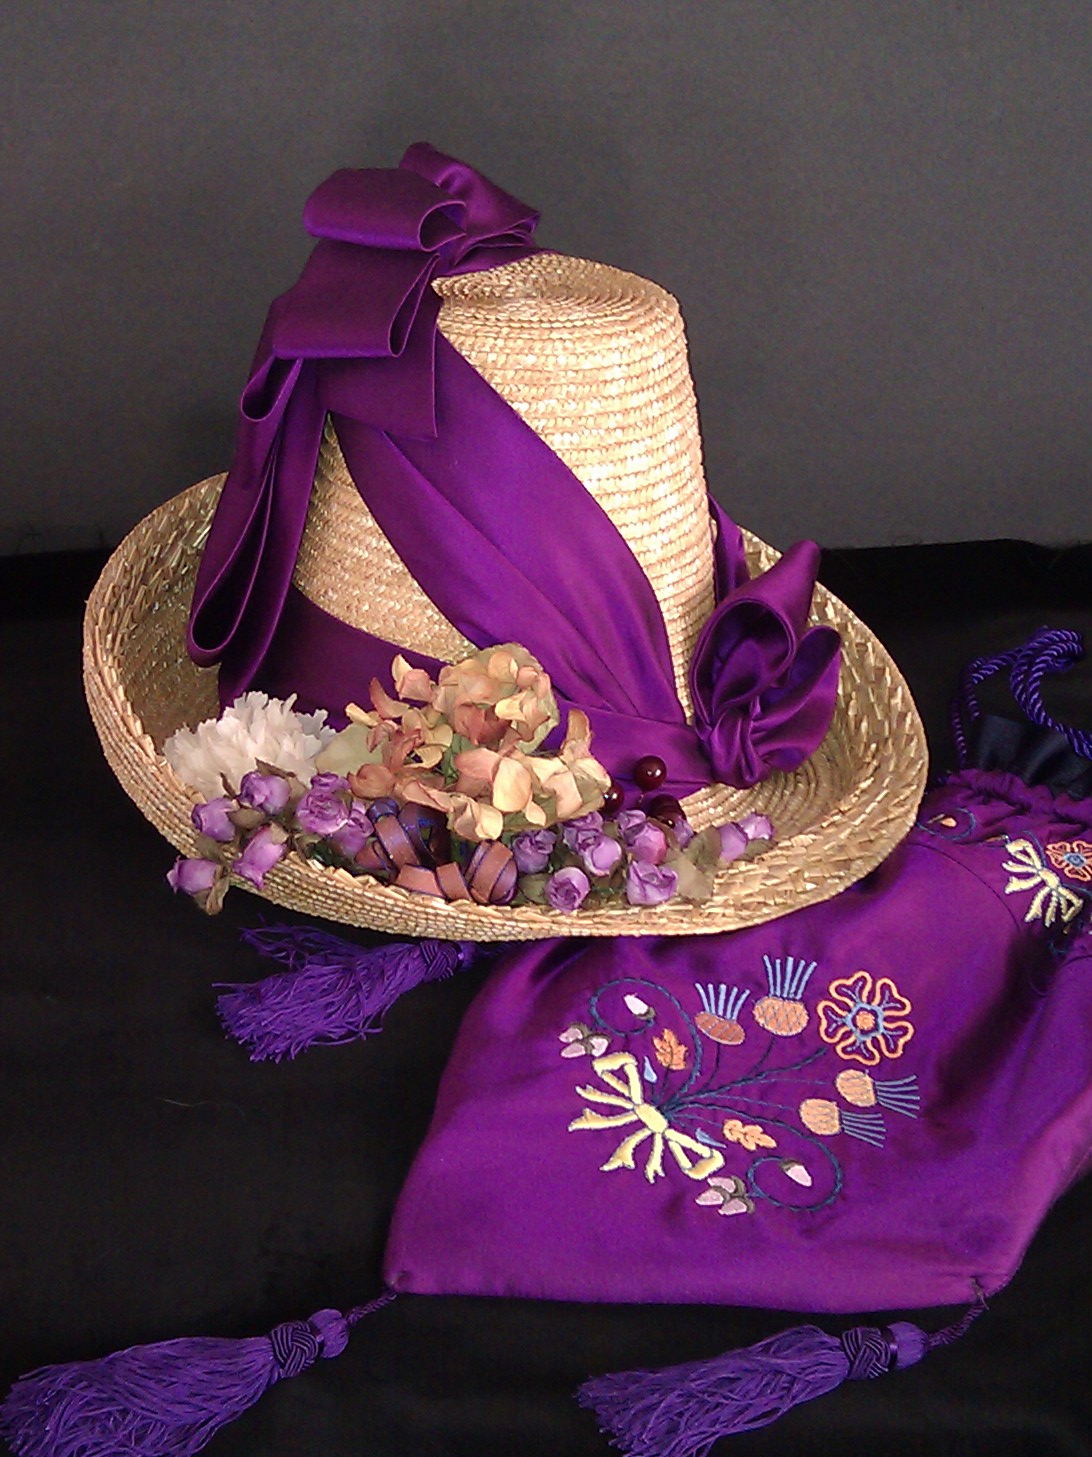
I'm going to start by hopping around a bit, chronologically speaking, working backwards through projects I've completed recently before going forwards with stuff I'm working on now. First up is a hat and matching handbag from 1886, completed in May, 2011.
I have a summer gown for 1886, completed in 2008. I've always wanted an "upside down flower pot" style hat for this outfit. It is now 2011 and I still didn't have a hat. So, I commission my friend (and I like to say, mentor)
Lynn McMasters to make me a hat. I sent her some purple flowers that I had bought 2 years ago for this hat, and this illustration from Godey's Lady's book; it's from the 1880s, but I don't have an exact date:
 |
| Godey's Lady's Book, 1880s |
and this is the result:
Lynn custom blocked the crown separate from the brim, then attached them to each other. She then applied straw that was woven into points. All I have to say is: SQUEEEEEEE!!! It's perfect. :)
When Lynn gave me the hat, she also gave me extra pieces of the purple sateen. I figured there was enough to make a simple handbag, which is something else this outfit really needed. And, of course, I'm never able to leave well enough alone, so I covered it with a purchased machine embroidery pattern:
It's lined with purple linen left over from the gown's underskirt. The tassels and cord I already had from an earlier, aborted attempt to making a handbag like this. The bottom edge is wired, so that it maintains the triangular shape.
Projects rarely ever (some would say
never) go together exactly like you want. Every project teaches me something, how to do something right, or how to not do something again. This handbag, made in a mad rush over just a few hours, definitely taught me a few things. So, here's my first installment of "lessons learned:"
What worked:
Hmmm...well, it holds all my stuff.
What didn't work (so well):
1. It's BIG. It's more like a small workbag than a handbag.
2. For fabric I had only two corners with a long diagonal cut, and two wide bias strips. I decided the corners by themselves wouldn't make a big enough bag (see bullet #1), so pieced the bias strips to the diagonal cut...but only
after I embroidered the bias strips. Lesson learned: the embroidery might have gone maybe slightly better if I had pieced before doing the embroidery.
The bias strips were too narrow for any embroidery hoop I have, so I used a
Magna Hoop (which I've had for years, and this was the first time I've used it). The hoop did a decent job hold down the ends of the strip, but the fabric still pulled above and below the flowers, where the hoop wasn't really holding it. The side I call the "front" looked ok after a good pressing, but on the side I call the "back" some of the colors misaligned. Lesson learned: I probably would've gotten better results if I had basted the fabric to the stabilizer.
OH WELL. The bag is done, and does it's job just fine.
 |
| At GBACG's "Renoir's Boating Picnic", 11 June 2011 |
|