Sunday, December 28, 2014

New York Society Tea 2014

Yesterday the Greater Bay Area Costumer's Guild hosted its not-quite-annual New York Society Tea at The Palace Hotel, San Francisco. This event is often also called the Bustle Tea, since the time frame is late Victorian. No fewer than two of my sewing buddies have birthdays between Christmas and New Years, and both of them wanted to be costumed for their birthdays. So we decided to make this year's tea a bit of a birthday party.

An afternoon spent with my gal pals, in costume, is always a blast, even more so after going nuts for weeks on end getting a new frock ready. More on that later.

But who wants to read me talking? Just enjoy the photos!

The two birthday girls, Ms. G and Sahrye.
Noelle and Mia.
Ms. D and Ms. H.
Total attendance was something near 50.
Mr. Hal and your friendly neighborhood blogger.
Birthday girl, Sahrye.

You may recognize Sahrye's dress as Mina Harker's dress from Bram Stoker's Dracula. Sahrye did an awesome version of the dress. She blogs over at It Came From the Stash! Head over there to read more about this fantastic dress.

I love Mia's dress above for how absolutely period it looks. Small wonder, here's the dress she used as a model:
Victorian Wedding Dress  Date: 1879 Culture: American Brooklyn Museum Costume Collection at The Metropolitan Museum of Art, Gift of the Brooklyn Museum, 2009; Gift of Mrs. Thomas W. Hotchkiss, 1939
Dress, 1879, at the Metropolitan Museum of Art.


Ms. H provides our obligatory anachronistic moment.
Tea was followed by shenanigans in the bar.
Lastly, here's yours truly.

More chit-chat on this dress (and what is up with my hair) will come later. Right now I need to rescue my house from multiple weeks of frantic sewing.

Wednesday, December 24, 2014

Button Confessions

I confess: I love covered buttons.

Well, truthfully, I love all fussy, hand made buttons. But since I have an embroidery machine, covered buttons are the easiest for me to make quickly.

Here's a set I stitched up last weekend:

Embroidered covered buttons, ready to cut out. I made more than I think I need because there was space in the hoop. And it never hurts to have spare.
My plan was to make these up using the technique I learned from Nancy Nehring and her book, but I only had twelve period accurate bone button molds. In the above photo you can see that I planned for twenty buttons. So I got a bunch of who-cares-what-they-look-like, slightly domed plastic buttons and went to town. Best to save my bone molds for when the center hole matters.

Instead of more authentic bone molds, I used cheap plastic buttons to cover.
I've used the packaged covered button kits in the past, with both fantastic and disastrous results. The old-fashioned technique, though, has given me consistent results, so I stuck with that.

Clip, clip, stitch, stitch. These go together pretty quick, for me at least.
It took me less than a day (stitching around my full time job) to make all 26 buttons.

Seriously awesome, right? And really easy.

These buttons are going onto my current project, which is getting its first wearing at the GBACG New York Society Tea next weekend. A full post on the outfit will come. Stay tuned!

Tuesday, November 25, 2014

Early 20th Century Fat Bottom Purses

OK, I confess, I'm a lazy blogger.

I haven't posted in a while, not because I've been too busy to craft, but because I just haven't felt like it. I know, terrible. In fact, I've been ding quite a lot of crafting, mostly knitting and on and off mad sewing.

Here's something I finished since my last post: a pair of silk clasp purses that I've assigned to the early 20th century.

Silk purses with brass clasps and chains.
I got it into my head to make a clasp purse over -- *ahem* -- two and a half years ago. I need more period hand bags, and I hadn't made a purse on a frame before.

They're shaped with a fat bottom to accommodate plenty of stuff.
I was enamoured with a fat bottom shape, and made these large enough for my on-the-large-side phone.

It fits a sub-phablet phone in a bulky case.
Of course the clasp had to be big enough, too.
Yes, my phone is a Tardis. It's bigger on the inside.
So, I bought the materials and embroidered the sides, and (like many of my projects) put them aside.

Fast forward to last fall, and I'm trying to clear off my work table. I finally sat down and threw these together. Though after so long, and despite having the pattern I drew handy, I forgot that I had given them a 3/8" seam allowance. So, well, their shape is not exactly what I had intended.

Exterior is duchess silk. Interior is taffeta. Brass frame and chain, rayon embroidery, glass beads.
The outsides are duchess silk and the insides are taffeta. The clasp and chain are brass and the embroidery is rayon.


The one without the fringe is going to Lynn McMasters, who made the beaded fringe.

One unfinished project done, umpteen more to go!

Wednesday, August 20, 2014

The Thrifty Woman's Yarn Workshop

A handful of folks saw me at Costume College plying yarn with my homemade drop spindle.
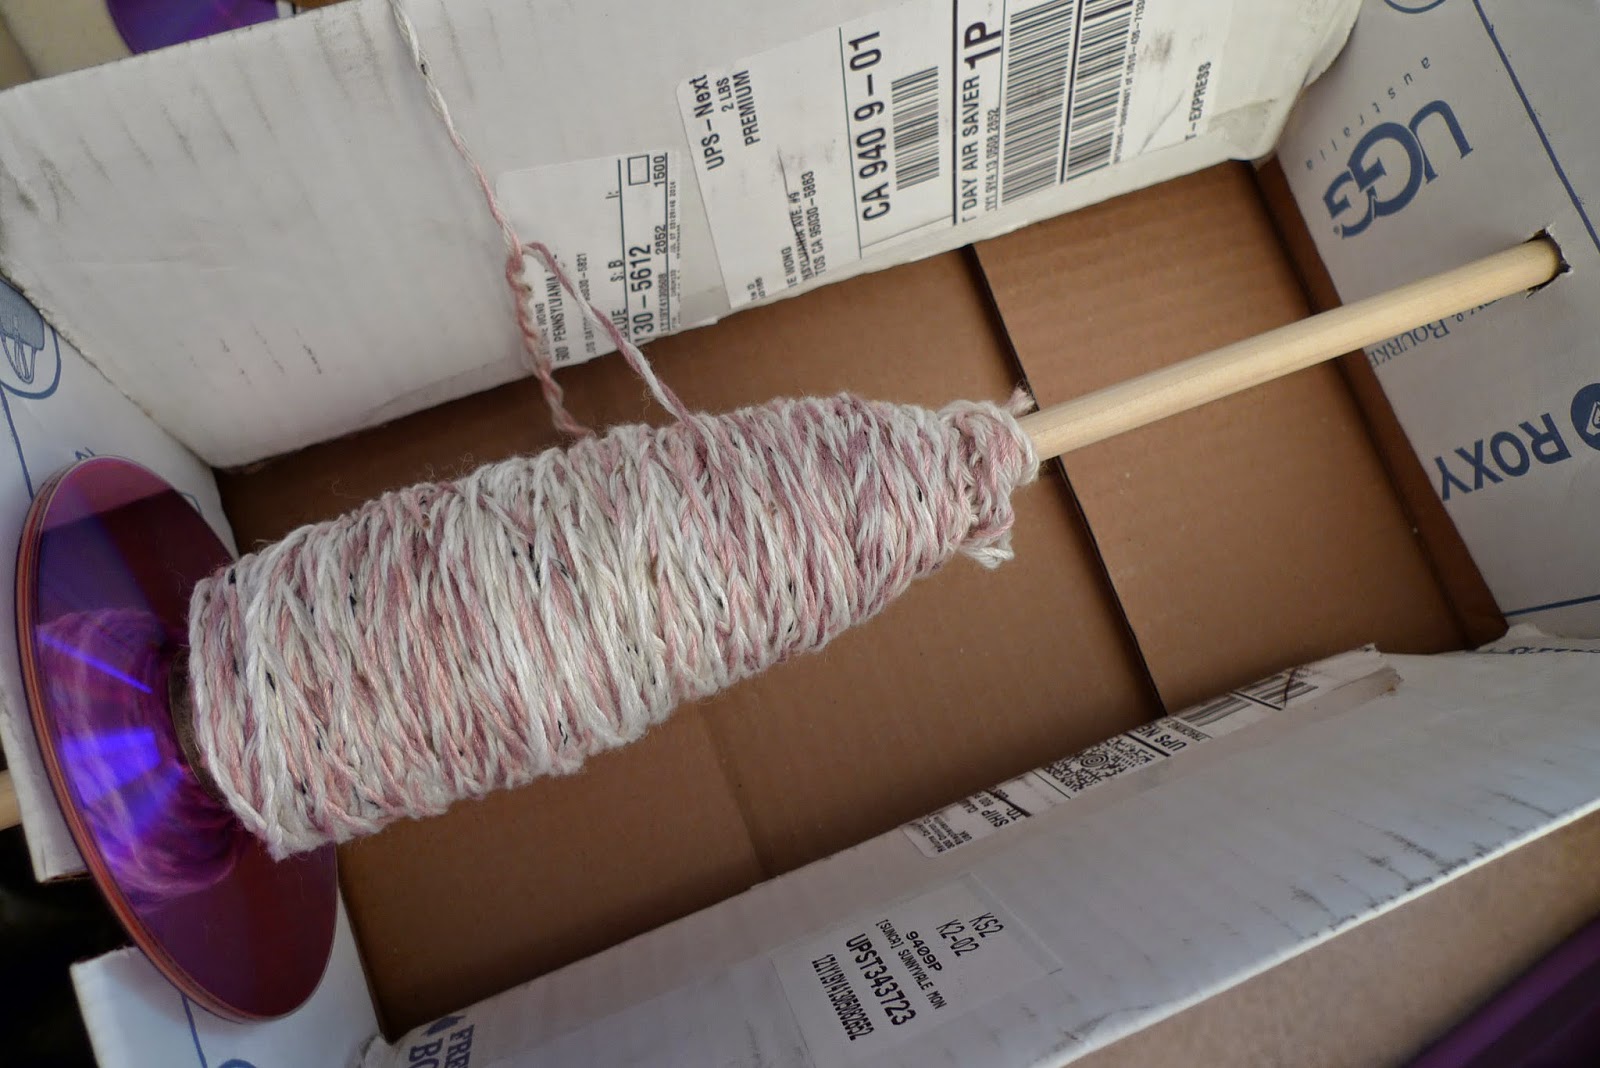
A drop spindle made from things you can find around the house (well, my house, anyway).
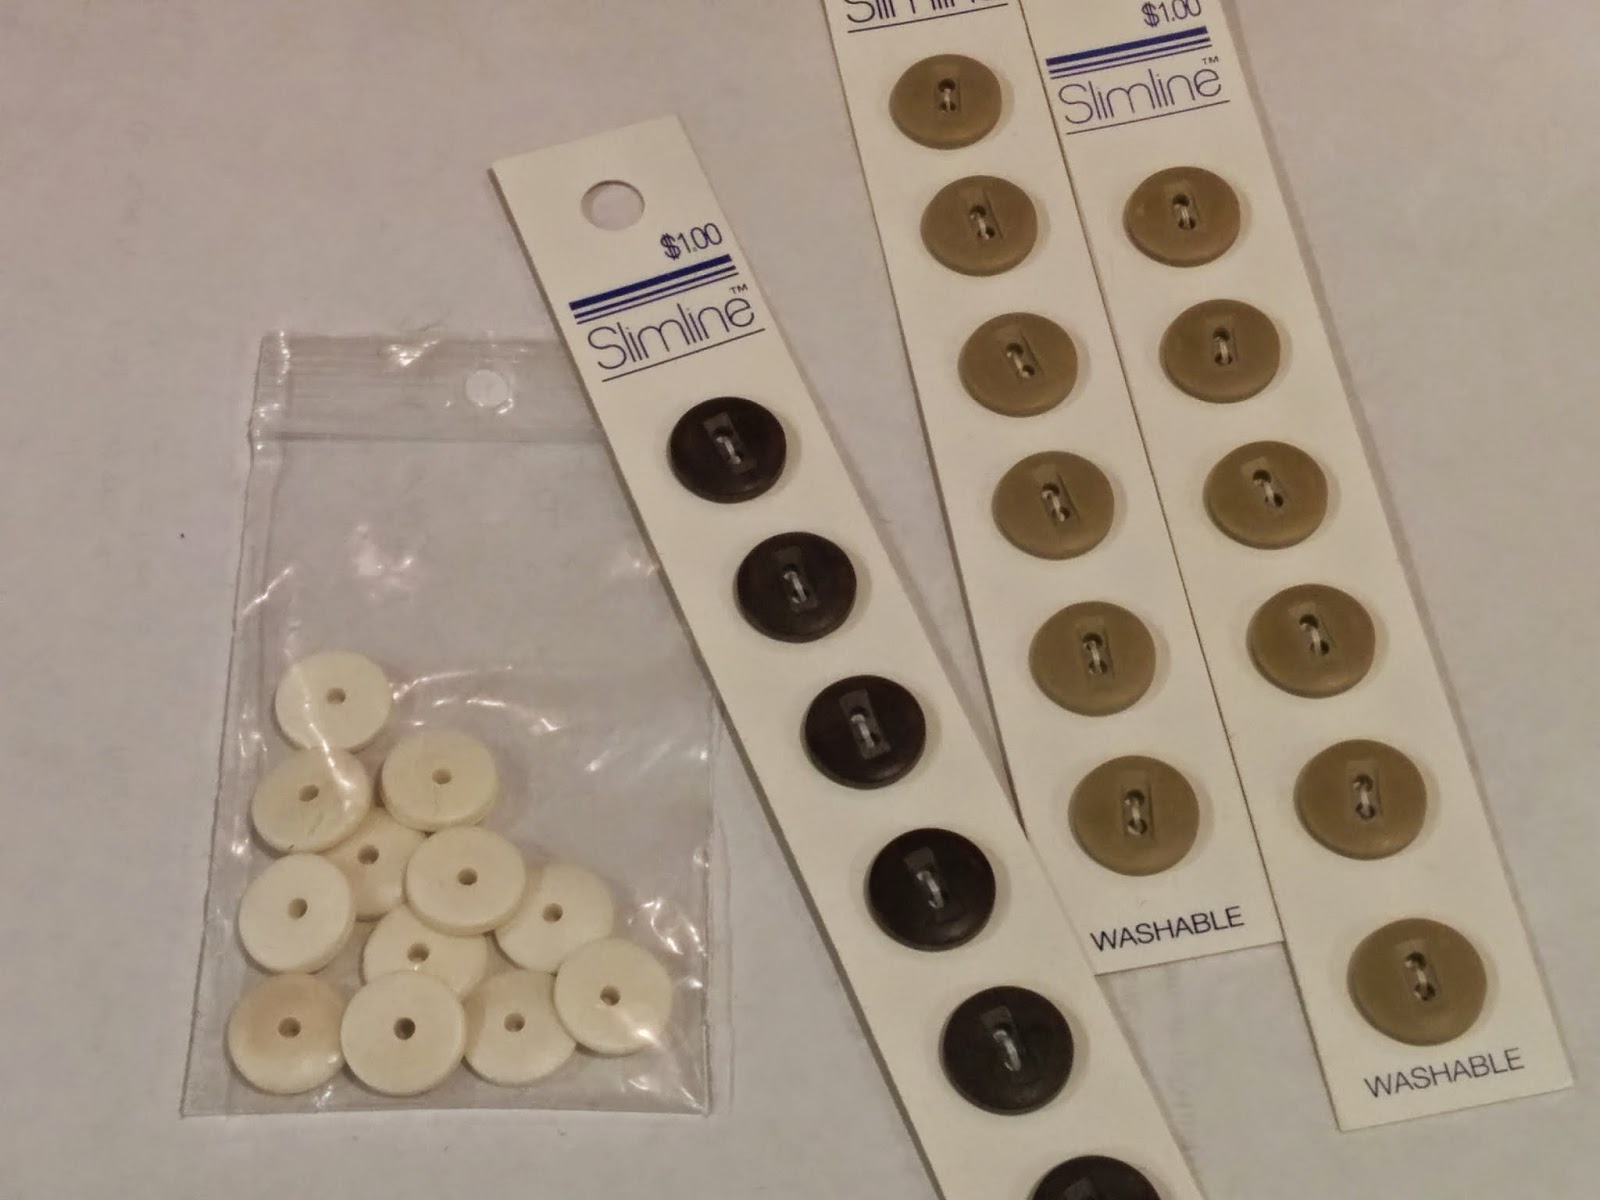
Now, I have a very nice, wooden drop spindle, but it has yarn on it that I don't want to take off yet. So I needed second spindle. I made one using these instructions, though I didn't want to hunt for the plastic grommet, so I hot glued the disks in place (I glued one disc on at a time, letting the glue cool a little first, and spun the dowel while the glue was cooling, to keep the dowel centered and the glue even).

Once I plied all the yarn, I needed to get it off the spindle so that it could get a quick wash to set the twist. I don't know if this next tool has a name; it's a box with holes and slots cut in to hold the spindle while I pulled the yarn off.

Spindle holder? Spool winder? Spinny thing? I don't know what to call this box-with-holes cut in.
Lastly, here's my...well, let's be honest, this is the GHETTO-est yarn swift ever. It's a box on a small lazy susan. 

The ghetto-est yarn swift ever.
Oh wait, one more tool was involved. I don't have a yarn winder, so I hand wind on a nostepinne. Except that I don't have a nostepinne, I use a clean chopstick.
My "winding stick" (a chopstick).
I'll show you later what I actually made from this yarn (which I was also carrying around with me at Costume College).

Now, for the yarnies that are still with me, here's a treat: I was at the Whaling Museum in Nantucket just recently, and found these beautiful, whalebone yarn swifts.

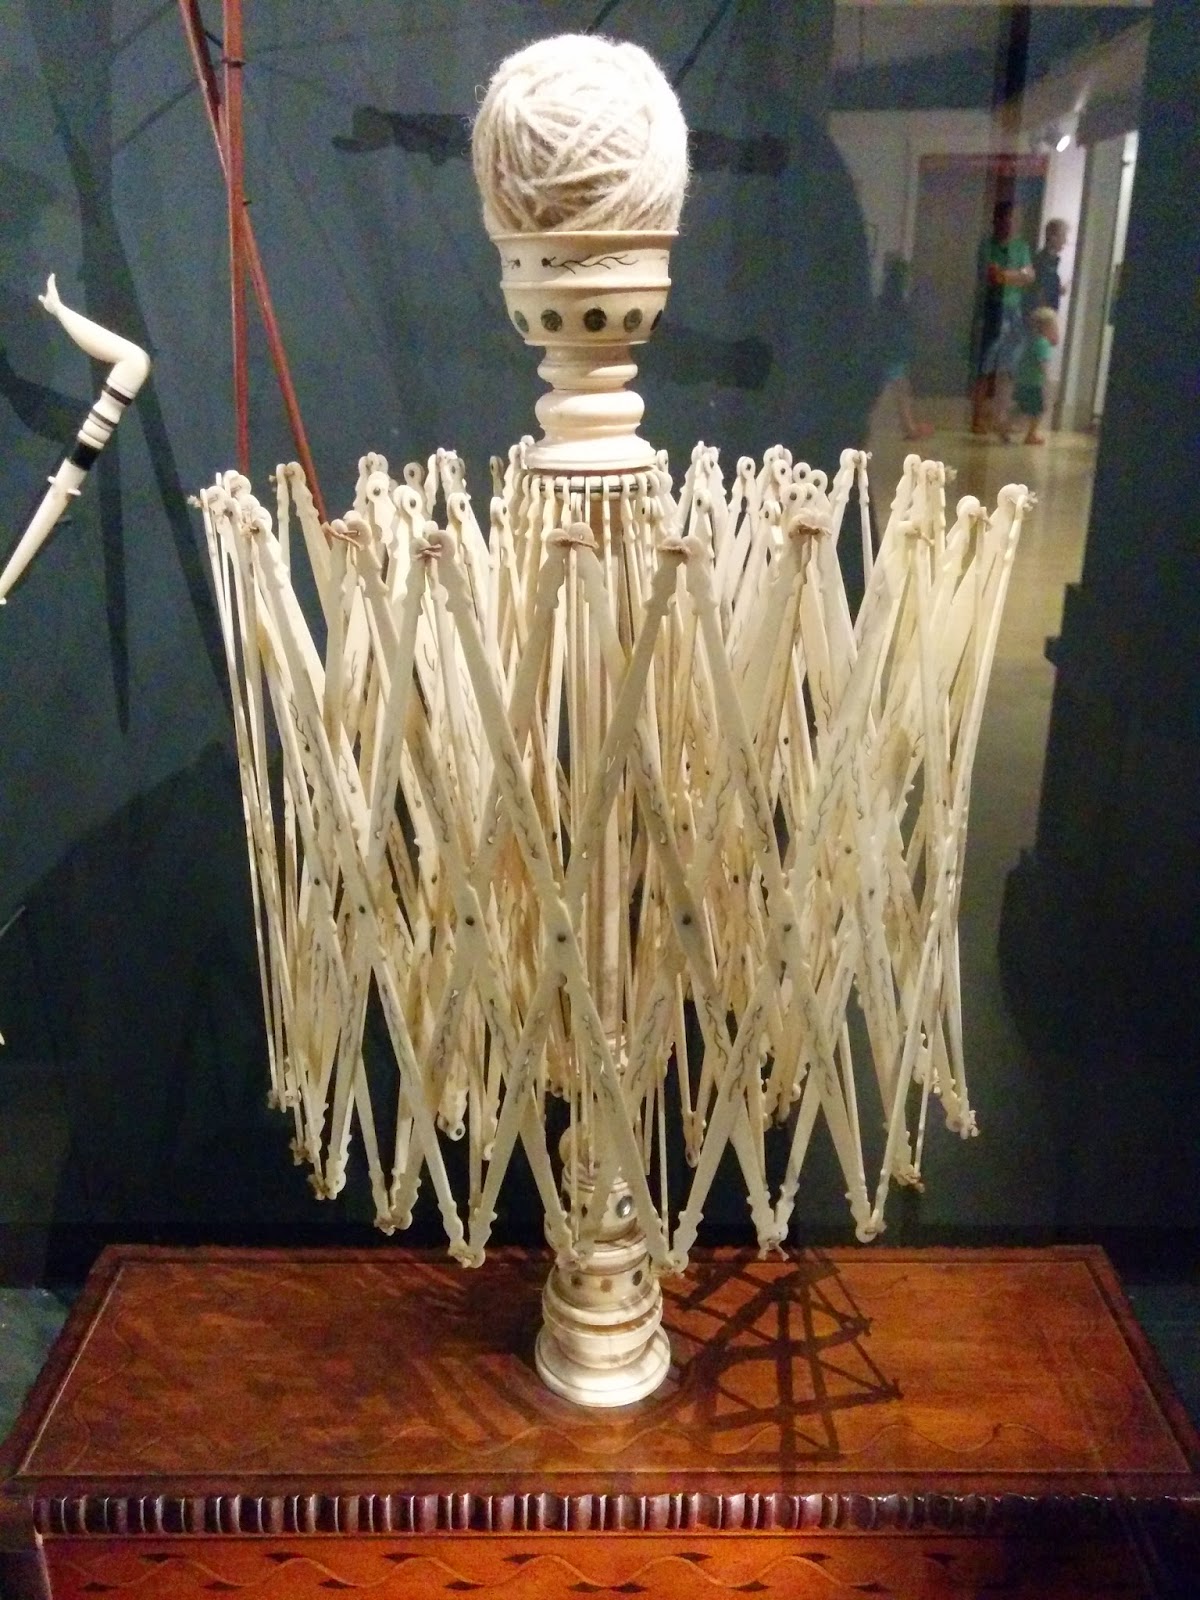
Whalebone yarn swift at the Whaling Museum in Nantucket.
It's such a delicate thing, can you imagine it being actually used to wind yarn? Moreover, can you imagine the labor to make this thing (each strut is ornamented) and the feelings of the woman who would have received it? She had better have been gratified.

The museum had a couple of whalebone swifts.

Whalebone objects at the Whaling Museum in Nantucket.
These were displayed with several whalebone knitting needles, sewing clamps, and some other objects that I didn't take note of. These objects are made from bone and not baleen, which is the "whalebone" used for corsetry. I saw some samples of unprocessed baleen, but didn't get a photo.

And of course, one can't discuss objects made from whalebone without mentioning BUSKS.

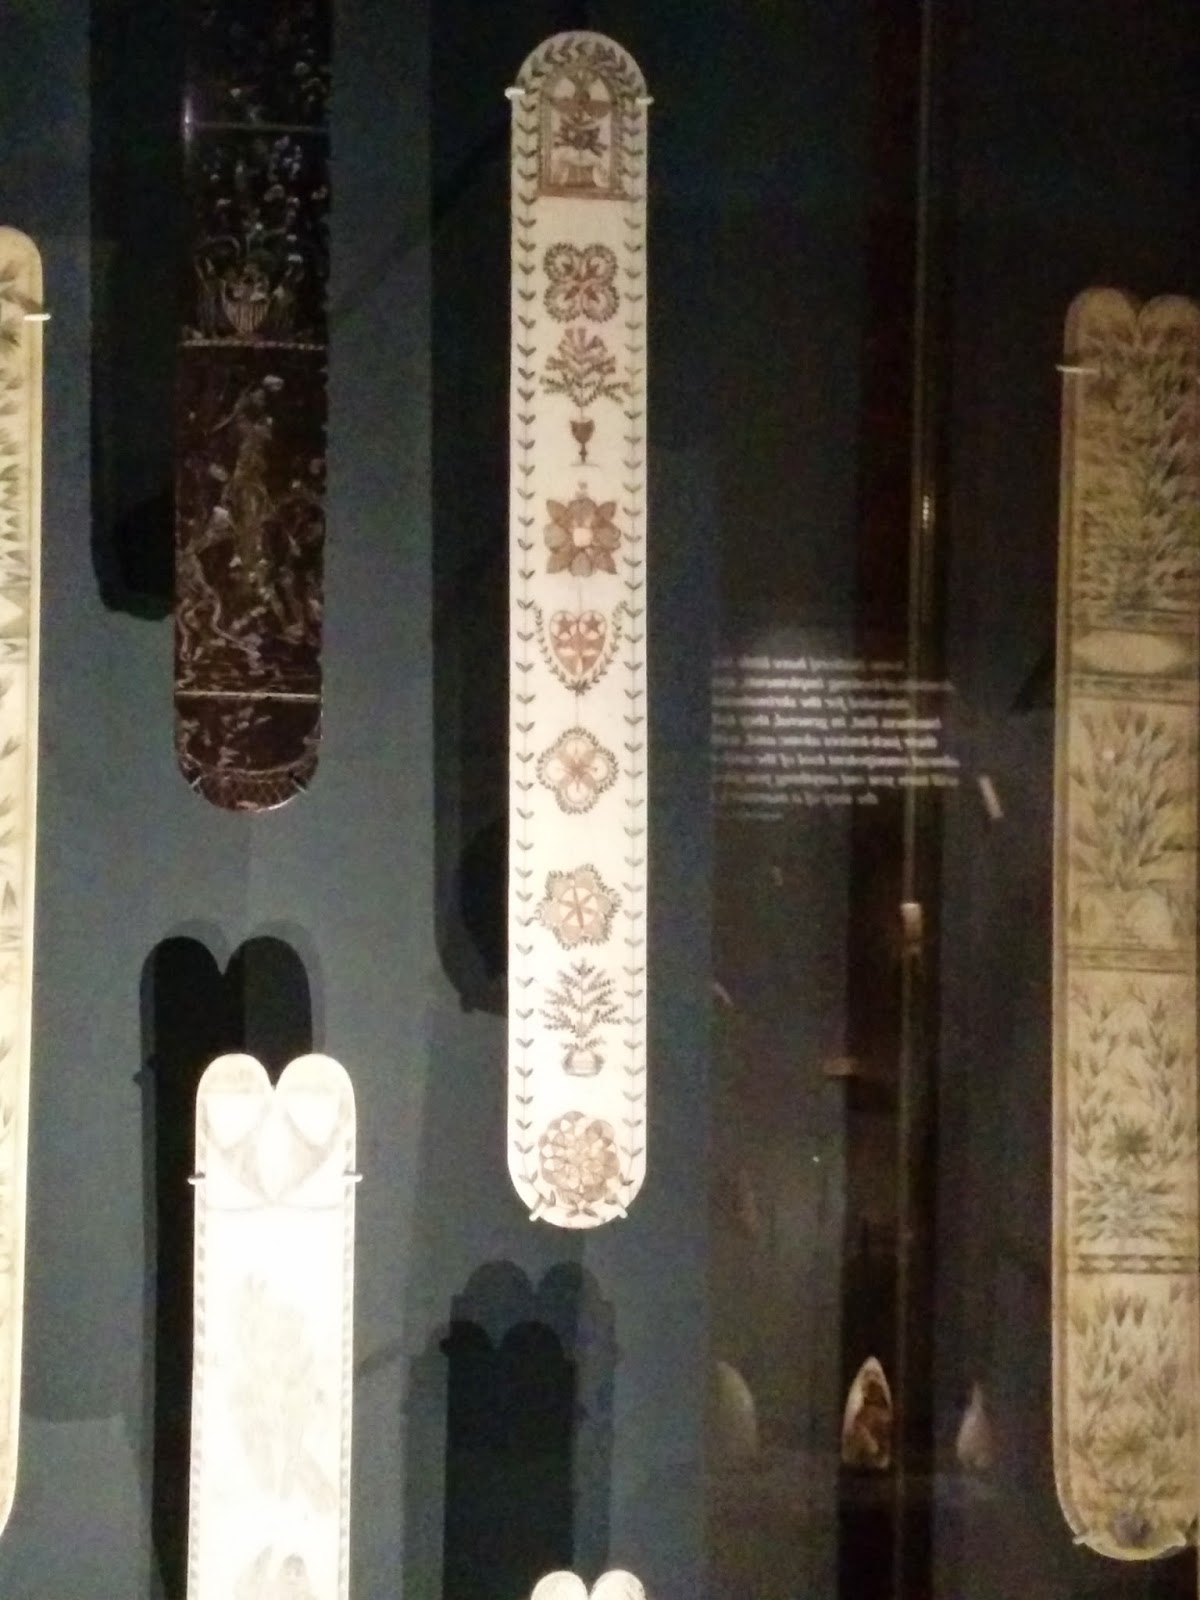
Whalebone busks. The darker one might be baleen, I didn't read the label.
The museum has managed to get a hold of quite a few beautifully carved busks.
The Whaling Museum is very nicely done. A lot of time (and money, probably) has gone into the displays, and there are some very nice talks (though skip the movie, it's heavy on "isn't this island great" and way to light on history and facts; the presentation on the history of whaling was VERY good, however). If you happen to be on Nantucket Island, I recommend a visit.

Sunday, August 17, 2014

Brief Costume College Recap

Yes, I know, Costume College was TWO weeks ago. What can I say, I'm not a very diligent blogger.

I was thrilled to be back at Costume College this year. I missed last year, due to other commitments. I didn't have much to contribute to the neverending parade of GORGEOUS costumes though. As you can see from the quietness of this blog, I haven't been sewing much. So, the weekend included a minimum of costumes for me, but also plenty of socializing and oggling.

For the Friday Ice Cream Social I wore a vintage dress I recently acquired.

Vintage dress from the 1950s. Photo courtesy of Amy O.
I got this dress from Etsy seller youthstep, and I just love the use of lace. Inside there's a label that says "Rappi," anyone know anything about this designer? I do not have a figure for vintage dresses, and this one proves it (the bust is quite a bit too big).

For the Gala I wore my 1950s-style ballgown.

Been there, done that.
I also put my red french gown in the exhibit room. CGW lent me a very jaunty mannikin, which was no fun to dress.

Attitude, 18th century style.

As for classes, I popped in and out of quite a few, and soaked up as much as I could. I took the limited glove making class, and made a glove.

My first (ever) glove.
I stopped at one. The fit wasn't quite right (some of the fingers are too short) and my construction technique could really use some work. I'll fiddle with the pattern and try again in the future, but in the meantime I found a pair of leather gloves in the Marketplace.

Very dirty leather (possibly kidskin) gloves.

They fit nearly perfectly, which is a surprise, since commercial gloves never fit me so well. They are filthy (hence, they were cheap), and they need a good conditioning. So cleaning and restoring these gloves is a future project.

And lastly: I spent a loads of time catching up with so many fantastic costumers and meeting new folks. I deeply, truly, LOVE the costuming community, and every day am thankful that I get to play with ya'll. :)

Saturday, July 5, 2014

These are not the trimmings I meant (French Gown c. 1780)

Now for a post about something I did actually make myself.

Zone Front French Gown c. 1780. Trimmed with floral garlands for Bal Di Carnivale.

In late 2013, the Greater Bay Area Costumer's Guild (GBACG) announced that in February it would host a Carnivale themed Venetian ball. I decided this was the excuse I needed to make a French gown that I planned years ago.

The gown is loosely based on this well-known, pink and frothy number house at the Kyoto Costume Institute (KCI):

French Gown c. 1780. Kyoto Costume Institute.
This gown is interesting because it has a zone front. It's the only sacque-back gown I'm aware of that has a zone front. The floral decorations are interesting as well, and are apparently painted silk.

The ribbon is wired, so to make it fit pulled the wire to gather it in strategic places.

I made my version out of a purple and gold striped damask, and used the pattern I had developed for the red french gown I made a few years ago. That saved loads of time. I don't remember the last time I had a dress go together so fast.

I got the stripes symmetrical, but didn't try to match the back of the neckline.

Yet I still ran out of time to  make and attached the trimmings, which were also supposed to be loosely based on the KCI gown, though embroidered instead of painted. A week before the event I decided that there was no way I was going to get the trims done (and still sleep and go to work). So, I trotted off to Michael's, the craft store. I bought four plastic floral garlands, several handfuls of plastic floral sprigs, and several spools of gold wired ribbon, and got creative.


The trimmings are plastic floral garlands and sprigs, creatively safety-pinned on.

Because 1) I was in a hurry, and 2) I wanted to be able to get these garlands off easily later, everything is attached with safety pins.

The bodice front closes with two hook sand bars.

The ribbon was safety-pinned also.
The original pattern is JP Ryan's, and I've deviated from the pattern's instructions by skipping the back lacing (I put in a big tuck) and using lacing strips.

The front laces under the stomacher, as according to the pattern.

I also wanted to be able to get into it mostly by myself, so the stomacher is tacked on on one side, and attaches with hooks and bars on the other side.

The stomacher is tacked to the bodice on one side, and attaches with hooks and bars on the other side.

Finally, I had wanted to make new sleeve ruffles, but...you know...ran out of time. So I put on my old faux-whitework sleeve ruffles.


My old faux-whitework sleeve ruffles finished the gown.

I will some day finish the trims I had planned, as well as the sleeve ruffles (I'm going to attempt machine whitework on mesh). I've already taken all the trims off, now just need to find the time to finish the embroidery and get it stitched on.

I also styled a new wig for this outfit, and will have to do a post on it later.

Here's a few pics of the gown in action.