Some years ago I bought this little parasol:
 |
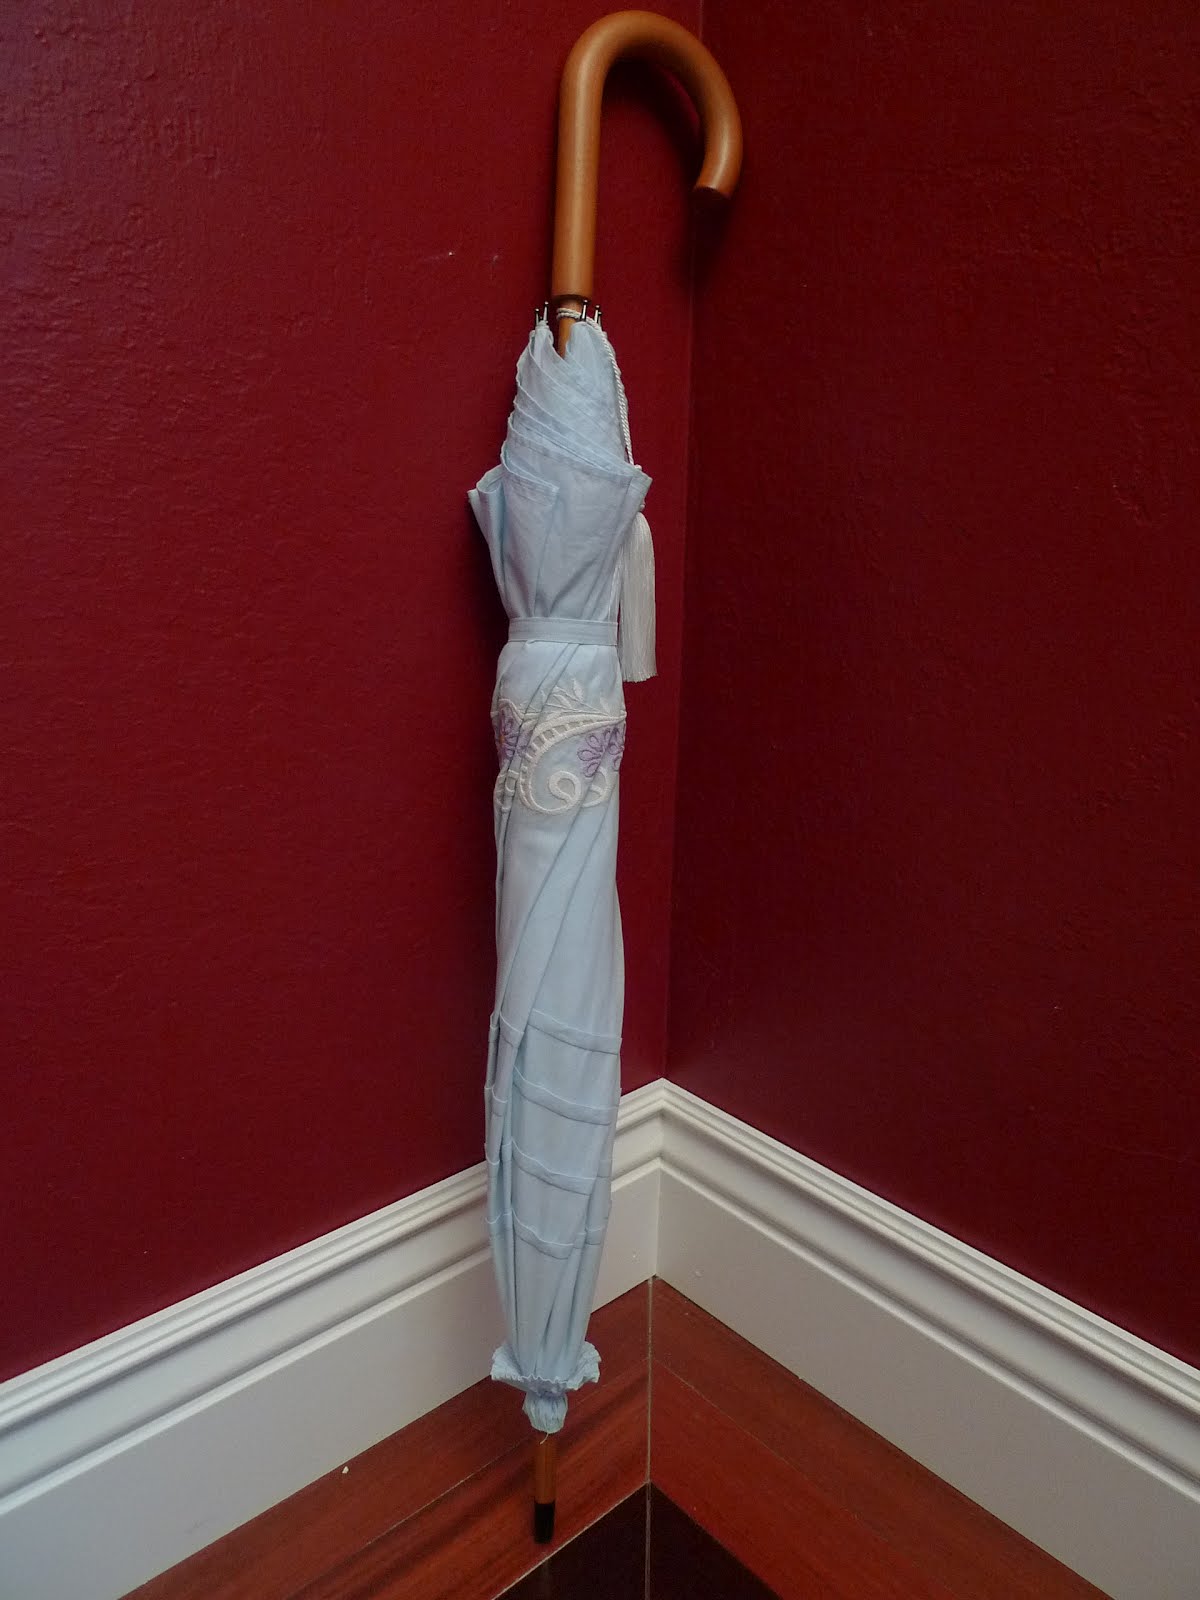
| Small parasol that's lost it's handle. Hard to date, could have been made anywhere between 1890 and 1930. |
This isn't the only parasol I have that has lost its handle, but because it's such a budget frame it's going to be my first full-handle-replacement project. Over the last few weeks I've been gathering the tools and parts I need. Today I went at it (though I'm REALLY supposed to be doing Costume College prep. Oh well.)
First thing is the replacement handle. I had originally planned to use an ordinary dowel, but went with the top end of a walking cane instead. A dowel would have had uniform thickness from top to bottom, while canes are generally a bit tapered, and that made, I think, for a more natural shape. The cane I used was *ahem* cheap, not very round, and not even meant to be used as a cane (it's only decorative). But it was a tapered stick of wood, which would do the job.
 |
| What's left of the cane. I was too trigger- happy with the saw to take a photo before cutting it up. It has an orange stain that would look fine, but it also has a nasty- varnish on top. |
 |
| My doweling jig. |
The doweling jig solved half the problem. I still need a way to hold the dowel itself, because if I just clamped it into the jig, the dowel would likely just rotate with the drill bit (or so I read on woodworking websites). So, I needed a dowel jig...for the doweling jig. Yeah, stay with me here.
I found the solution here: http://www.woodworkingonline.com/2008/04/08/dowel-drilling-jig/ I just needed to adapt it for the doweling jig.
First, to drill a big hole. So happens I have these big drilling bits (don't ask why, I do a lot of DYI on my house).
 |
| Big old bore drilling bits. The big one is missing because it's stuck in the mount (long story). |
 |
| "Clamp" for the work piece on the left, piece-to-be-clamped on the right. If I had planned better, it wouldn't have split. |
I went at it with a file to see if I could make it work anyway. I got the other dowel pin to fit, but notice here that the upright piece is at an angle.
 |
| How they fit together (off-kilter; that'll need to be fixed. |
Yeah, that's not helpful when you're trying to line things up perfectly. These are postmortem photos, and I only noticed the off-kilter angle when I took them. I'll have to fix that before I try this again.
Now to put it all together. I clamped the work piece, the new handle, into the hole, and clamped the whole thing into the doweling jig. Yes, that made quite a contraption.
 |
| All clamped together. |
 |
| Ready to drill. Here you can see the work piece. |
 |
| 3/8 inch bore hole for the new stick. |
 |
| On the left, the new handle with new partial stick. On the right, the frame with a brass tube on the end, which will connect and support the joint. |
At this point I need to trim the brass tube, and I want to sand the handle some more. But it was late, I was hot and hungry, and decided to call it an evening.