Sunday, July 1, 2012

Powder Blue Parasol, Part 2 (the last)

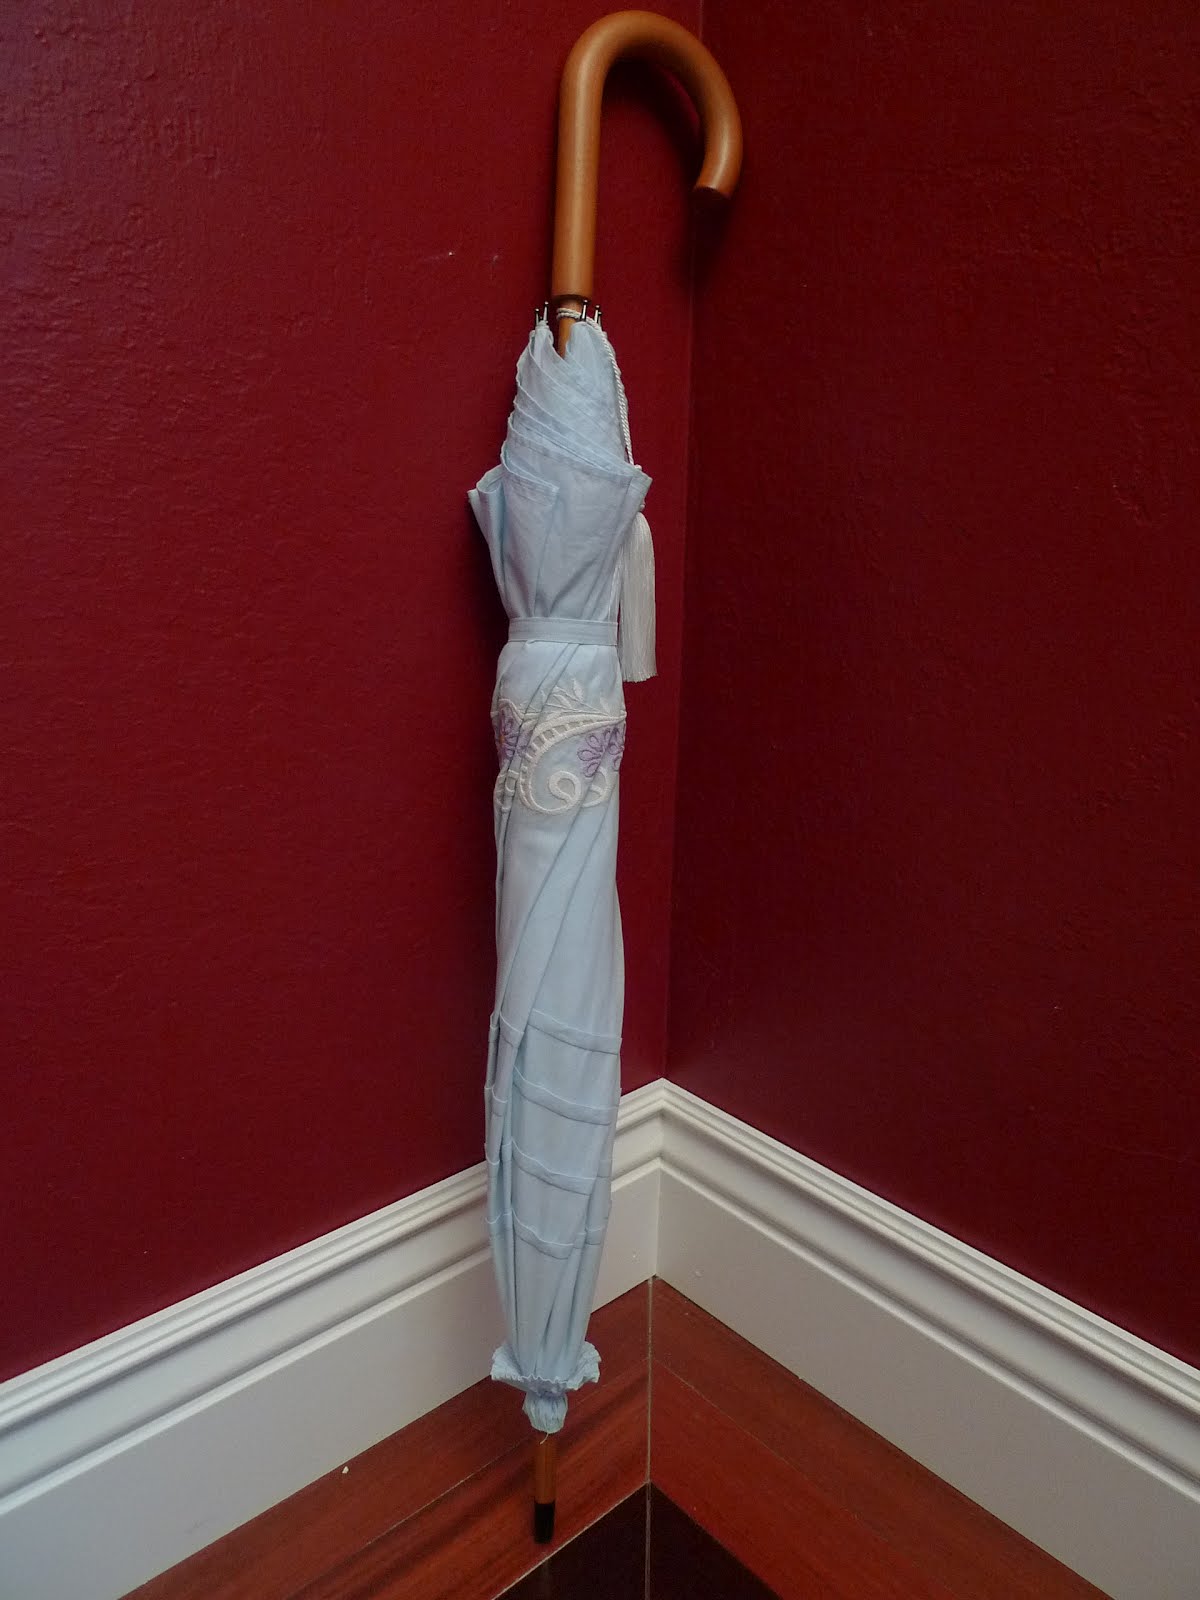
I finished the powder blue cotton parasol that I was embroidering in this earlier post. This parasol was the finished sample for my class last week, though it wasn't really done until I picked up the tassel from Lynn McMasters at the class. Here's the full photo spread I took after the class.

The finished parasol.
The large canopy panels gave me lots of room
to embellish, first with some simple embroidery.
In the upper area I put four rows of tucks.
A small rosette covers the opening in the
center of the canopy..
Small touches make this modern frame
look more period, like these rosettes
on the underside of the canopy.
A full view of the underside.
Another finishing touch, a custom-made tassel
by Lynn McMasters.
Lynn is teaching a class on tassel making at Costume College. She and I have been lamenting how modern tassels and fringe just don't look like the silk tassels and fringe of 100 years ago. She's been developing tassels. I've been developing fringe. But more on that later.

This parasol uses a ring-and-button closure mechanism I've
seen on extant parasols.
And propped in a corner.
For your amusement, here's the reverse sequence of how this parasol came from a modern umbrella.


Sunday, June 24, 2012

Edwardian Parasol Workshop

What a fun day! Yesterday I taught a class for the Greater Bay Area Costumer's Guild, "Edwardian Parasol Recovering Workshop." I had eleven enthusiastic, talented, and creative students. No one finished, but just about everyone just had to do the final attaching-to-the-frame.

This was the first class I've ever taught for the GBACG (I've taught privately and at Costume College). I do wish everyone had been able to finish, and have some ideas for next time. Yes, there will be a next time, I had a ton of fun and would do it again!

Here's a photo recap of the day (scroll to the end to see some of the results!)

Umbrellas packed, student packets packed.
Parasols packed!
A handful of antiques from my collection. I brought them to
give a lecture on history and mechanics of parasols.
Some more antiques and two modern, recovered parasols.
AJ de-nuding her umbrella, with Tara and Leah.
Chris and Lynn stitching away.
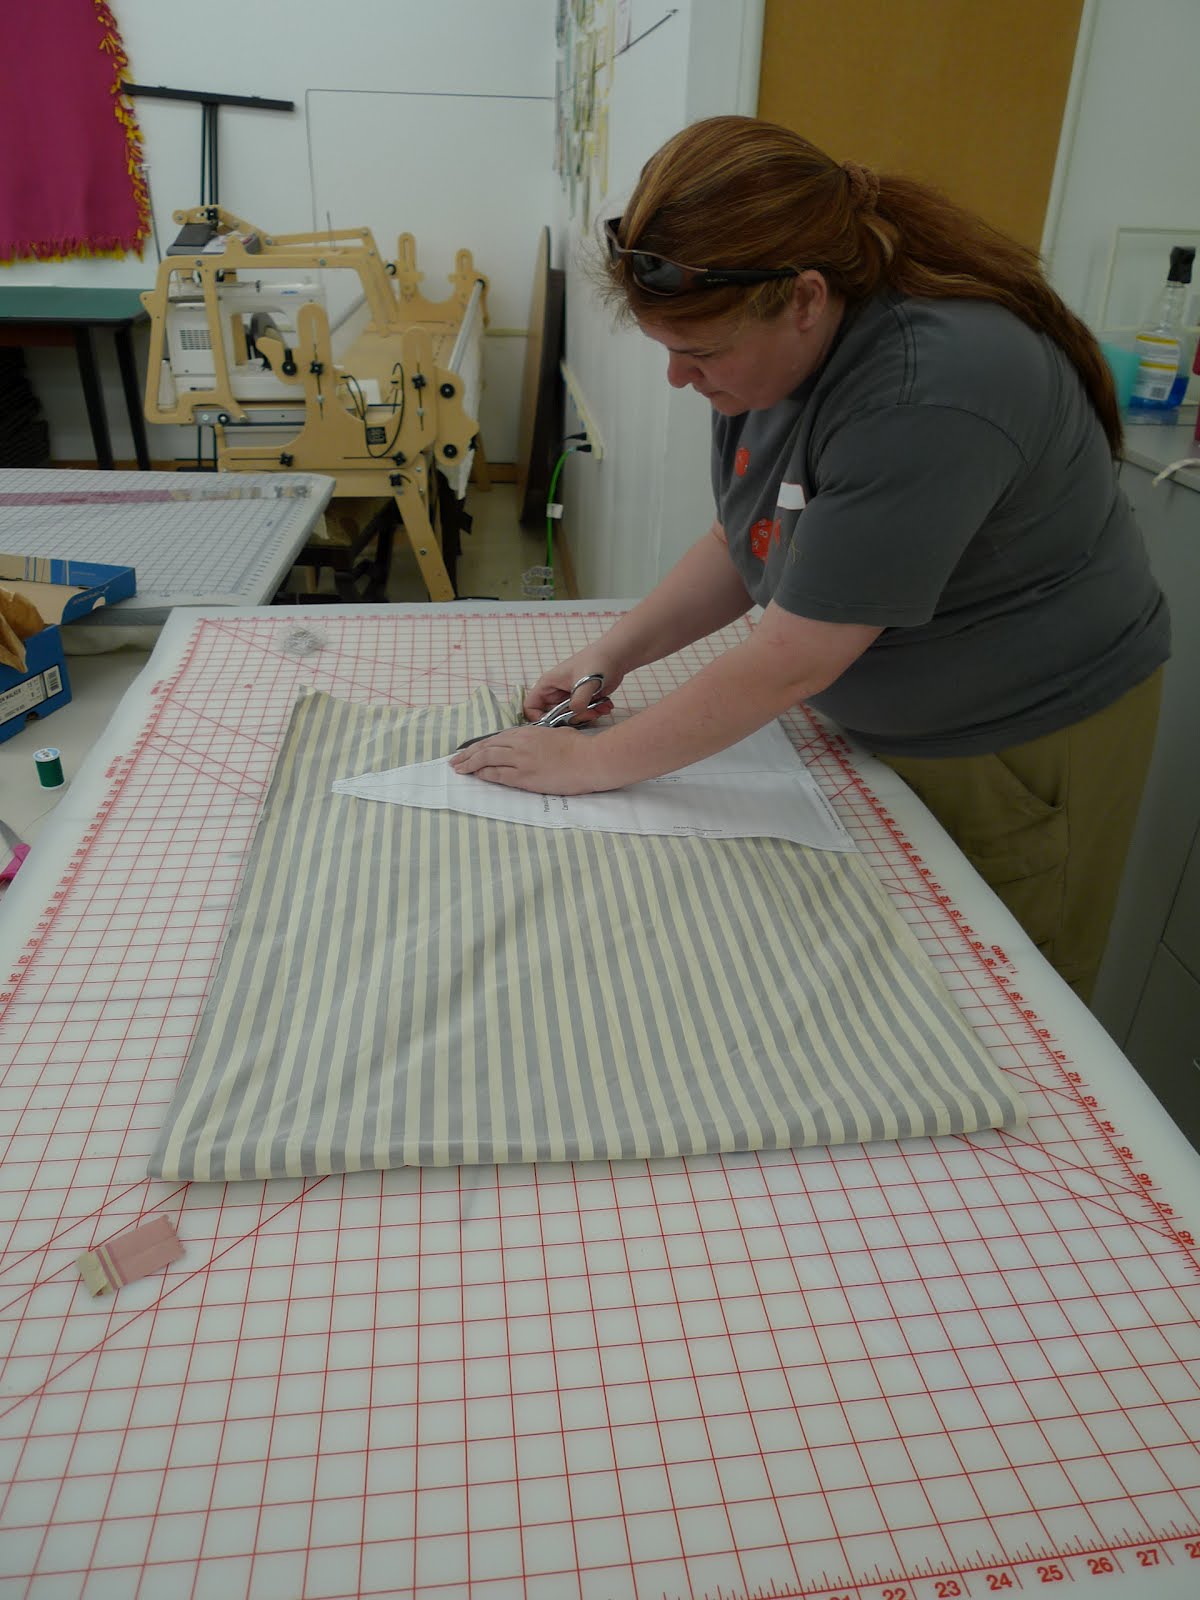
Noelle, cutting deliciously striped silk.
Tara and Judith, who is deeply
contemplating her trims.
Lynn made her two smocking pleaters available for the
class (this one has been at my house for a few
weeks...I've had MUCH FUN with it).
We used them to gather up the rosettes.

And here are some of the results!!!

Judy's stripes.
Judy made her outside rosette extra long. Love it!
Anne's plaid.
Plaids just do GREAT on parasols.
Lynn's, with pinned on gimp
(there will also be FRINGE!)
Great deep dome.
Leah's cotton stripes. You can
run your stripes around, or up and down!
Manon's sea foam blue silk.
Tara's printed silk.
When we stepped outside, it positively
GLOWED.
I'll have follow-up posts for the two frames I prepared as demo's for this workshop, and then maybe I'll, like, stop talking about parasols for a little while. Maybe. ;)

Sunday, June 17, 2012

Parasol Workshop, Part 3

This is a follow-on post to my earlier posts documenting steps in recovering a parasol:

Parasol Workshop, Part 1: canopy seams.
Parasol Workshop, Part 2: attaching to the frame.

In this post I describe another odd and unique step in recovering a parasol, which, well, really goes in between parts 1 and 2 above, but anyway, here it is now.

This step describes setting and reinforcing the hole at the center of the canopy. I have found this reinforcement on several extant canopy remnants, and on the modern umbrella that I'm converting into a parasol. My antique frames generally have little to nothing left of the canopy, so I can't tell you that the reinforcement is universal.

In some cases, the reinforcement isn't necessary. In the couple of cases where I've seen it, the seam of the canopy was shorter than the length of the rib. This difference is length is one way to manipulate the shape of the canopy. What happens, though, is that as you pull the canopy to attach it to the rib tip, the hole at the center of the parasol stretches and pulls out of shape. Now every time you close the frame, it'll slip down over the ribs.

So, here is what you do:

1. Put the canopy onto the frame tip. Keep the frame closed. With a double-length of thread, secure the thread about 1/4" from the opening.

I like to place my stitches through the seams, since it's
a sturdy point.
Pass the needle between the threads and under the knot.
2. Back stitch around the opening. Pull the stitches snug against the tip of the frame.

Don't ask why I'm going left to right instead of right to left.
It made sense at the time, and ultimately it doesn't matter
which direction you go.
3. When you're done you have gathered the fabric a little. The stitches should be snug against the frame tip.


Now you're basically ready to finish attaching the canopy to the frame.

Wednesday, June 6, 2012

Powder Blue Parasol, Part 1

I've been embroidering again. This design is for the parasol I mocked up in this earlier post. One of two, actually, since I'm going to do two versions of this parasol.

Oh right: that's what the umbrellas are all about. The frames are pretty darn good for converting into Edwardian-era parasols.


This design actually has a cutwork component, but I've enlarged it so much that I don't trust the cutwork area (the wedge shapes) to be stable.

Here are all the panels, stacked up and ready to sew...but that'll have to wait for later.


I'm following the philosophy of: if you can find  half hour to do a little sewing (or blogging!) DO.

Monday, May 28, 2012

So, about those umbrellas....

Getting back to those umbrellas: here's one. It's flat, black, boring and very umbrella-like.

"Rainkist" branded umbrella. Sold to me as a
"Leighton Fashion Stick" No idea if they're
the same, but it doesn't matter, the umbrella
I got had these essential features:
manual open, a wooden stick and handle,
and sew-able rib tips. The slider is still
plastic, but I can live with that.
The ribs on this umbrella are quite long, and have some room to flex. So, after a little manipulation of the original canopy, we have this:

Same umbrella, after manipulating the canopy with some pins.
Here's what the result after drawing a new pattern and mocking it up:

Mock-up of the redrafted canopy.
Are we looking more Edwardian-ish yet?

Sunday, May 27, 2012

New Hat Pins

I've added some new hat pins in my etsy shop, and relisted a bunch. I have a large batch that still needs photographing, including a handful that lean decidedly more steampunk-ish. I have no idea when I'll get around to listing those...hopefully soon.

Here are the ones that went online today. The ones that are made from antique buttons look marvelously close to originals.

Rhinestone Snowflake, 12"
Yellow Pearls and Sparkles, 12"
Aurora Borealis Rhinestones, 12"
Autumn in the Vineyard Pair, 10"
Autumn in the Vineyard, Large Medallion, 12"
Here are a couple more that I haven't listed, because I'm keeping them (for now).

Large green dome.
Small green dome.
Art Nouveau pair.
Large Art Nouveau Medallion

Tuesday, May 15, 2012

Why does she have so many umbrellas?

I'm almost back! As you can see from the gaps in my posts, I have to take long hiatuses every so often. It's painful to be away from costuming so long, but at least it's temporary.

I'm not quite free to come back yet, but I had a delivery yesterday so I thought I'd post a preview of what's coming up.


Yup, that's over a dozen umbrellas. More to come soon.