
 |
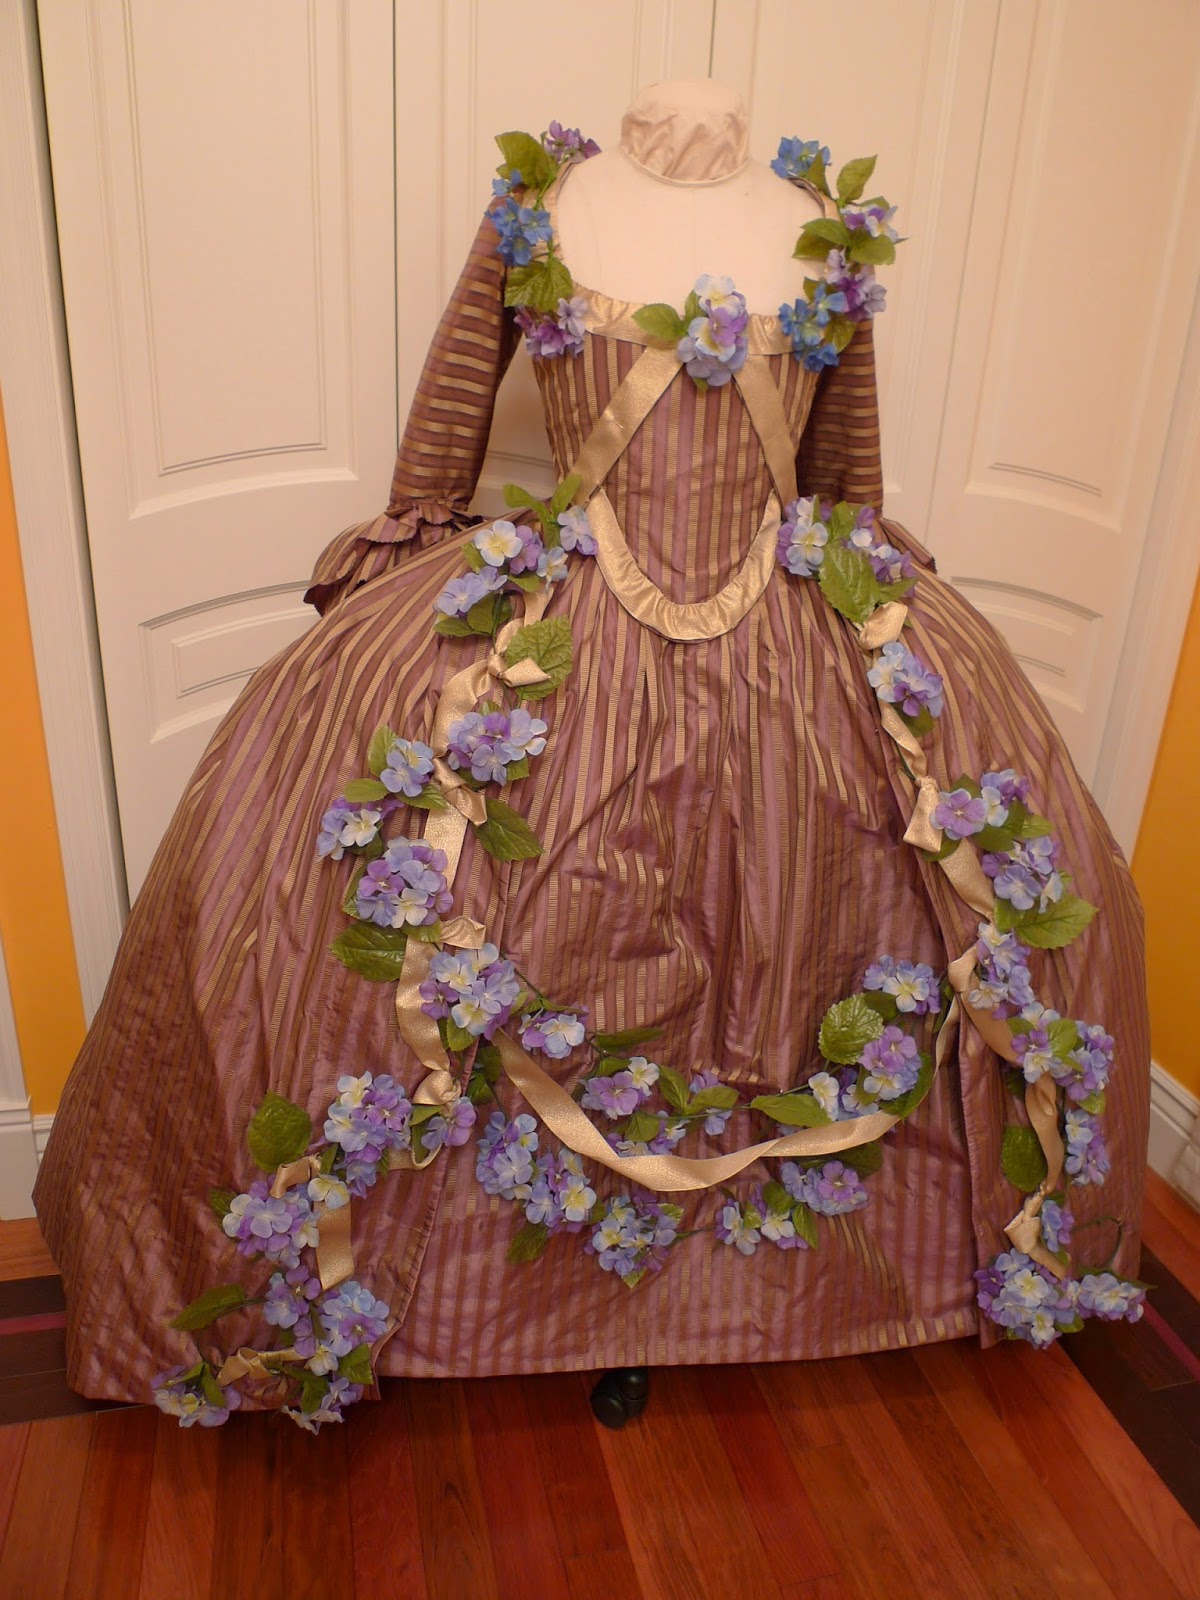
| Zone Front French Gown c. 1780. Trimmed with floral garlands for Bal Di Carnivale. |
In late 2013, the Greater Bay Area Costumer's Guild (GBACG) announced that in February it would host a Carnivale themed Venetian ball. I decided this was the excuse I needed to make a French gown that I planned years ago.
The gown is loosely based on this well-known, pink and frothy number house at the Kyoto Costume Institute (KCI):
 |
| French Gown c. 1780. Kyoto Costume Institute. |
 |
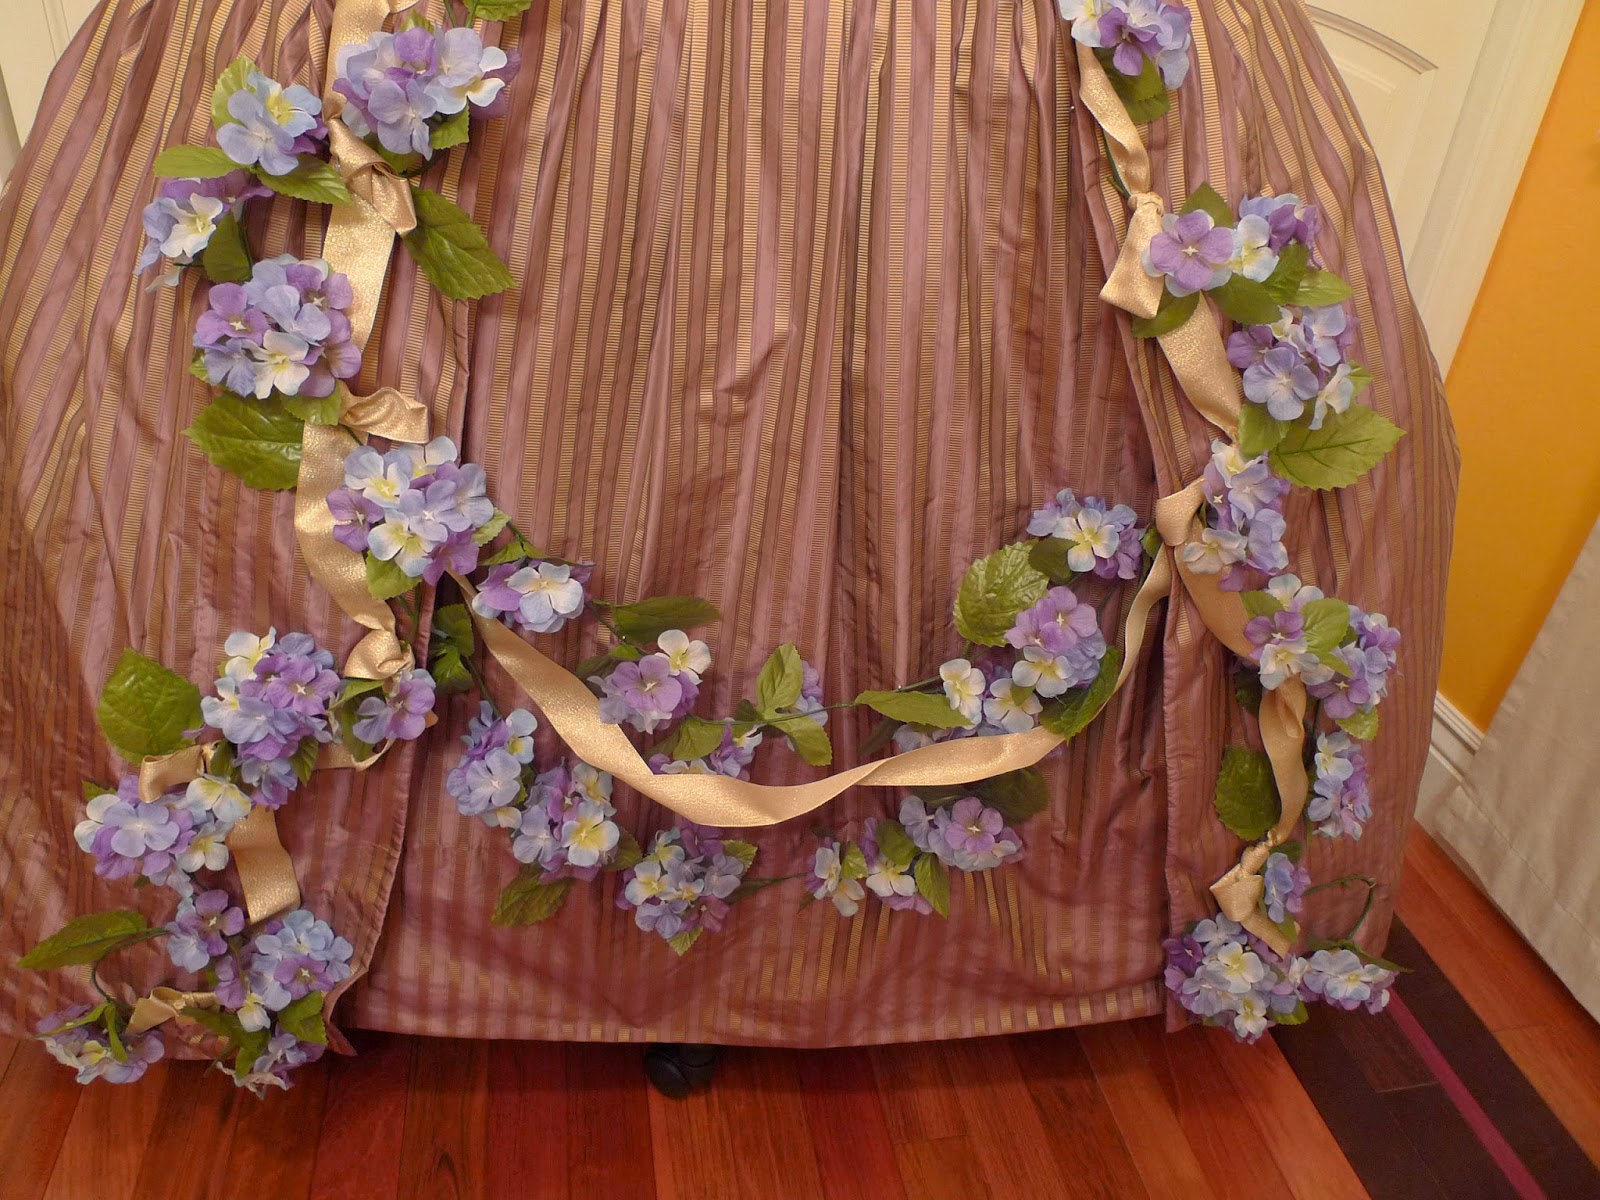
| The ribbon is wired, so to make it fit pulled the wire to gather it in strategic places. |
I made my version out of a purple and gold striped damask, and used the pattern I had developed for the red french gown I made a few years ago. That saved loads of time. I don't remember the last time I had a dress go together so fast.
 |
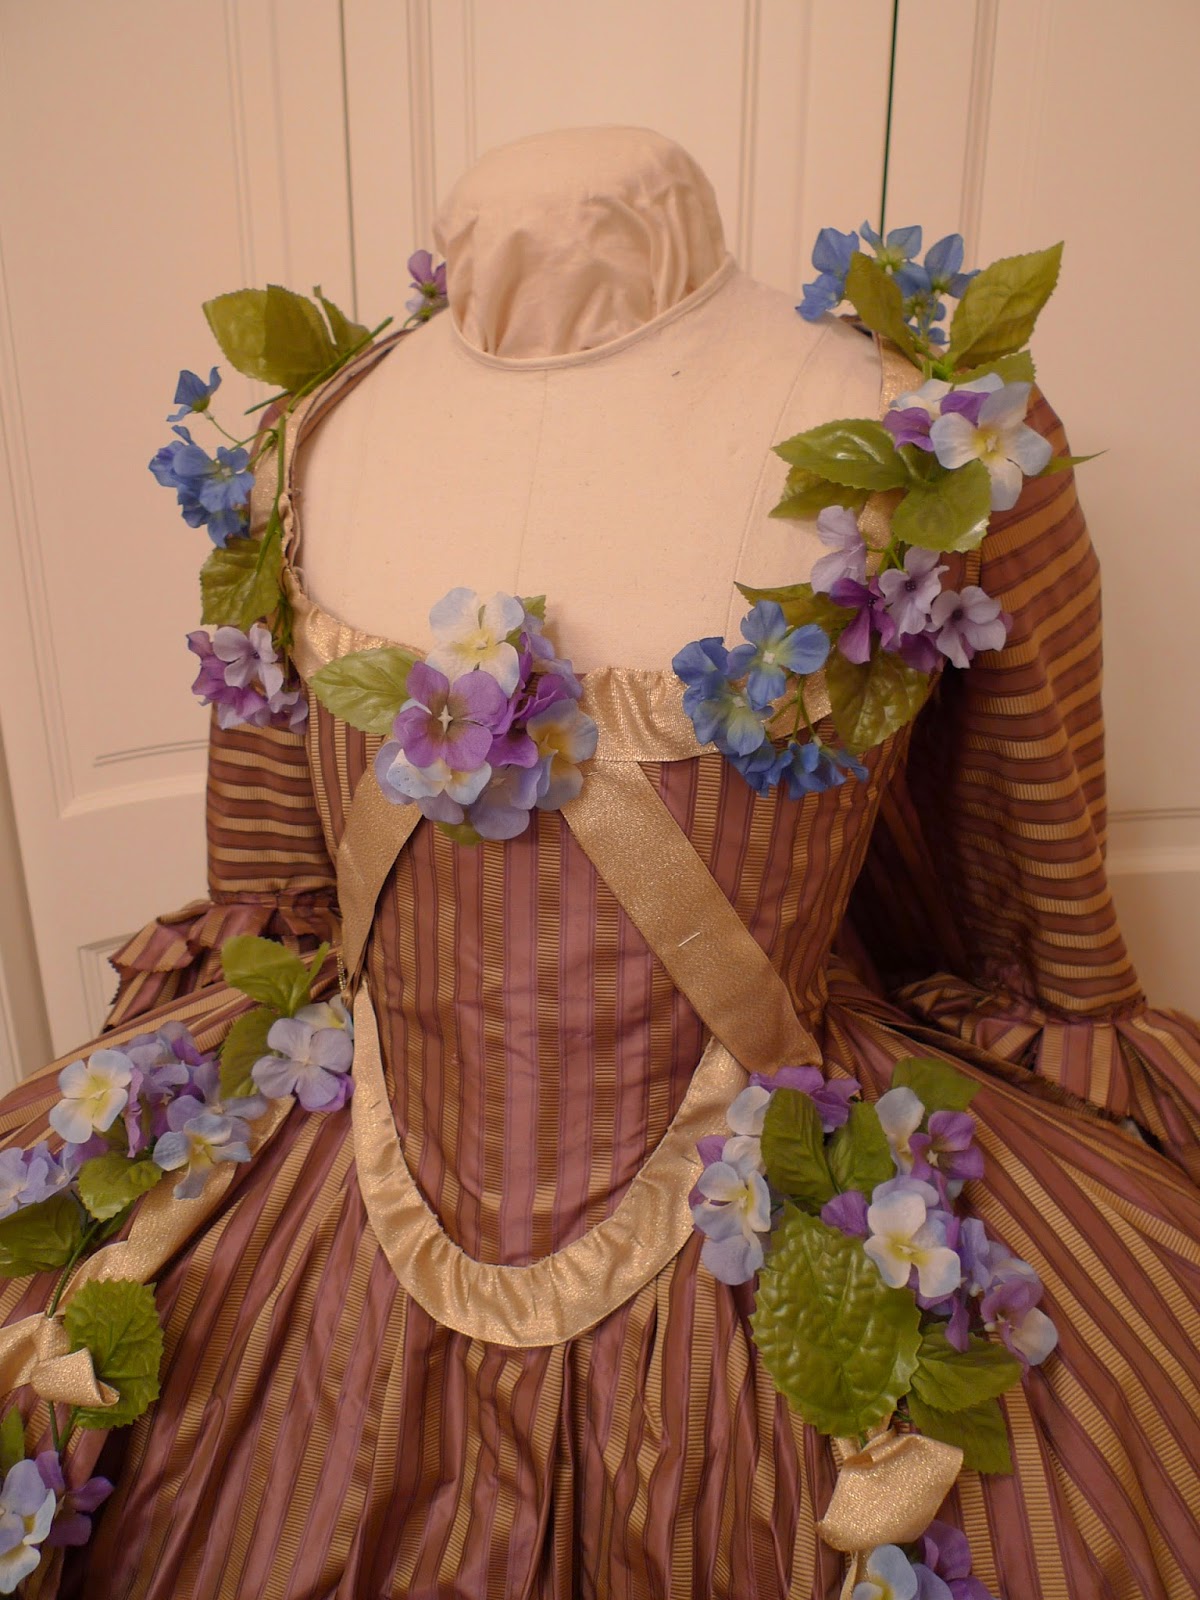
| I got the stripes symmetrical, but didn't try to match the back of the neckline. |
Yet I still ran out of time to make and attached the trimmings, which were also supposed to be loosely based on the KCI gown, though embroidered instead of painted. A week before the event I decided that there was no way I was going to get the trims done (and still sleep and go to work). So, I trotted off to Michael's, the craft store. I bought four plastic floral garlands, several handfuls of plastic floral sprigs, and several spools of gold wired ribbon, and got creative.

 |
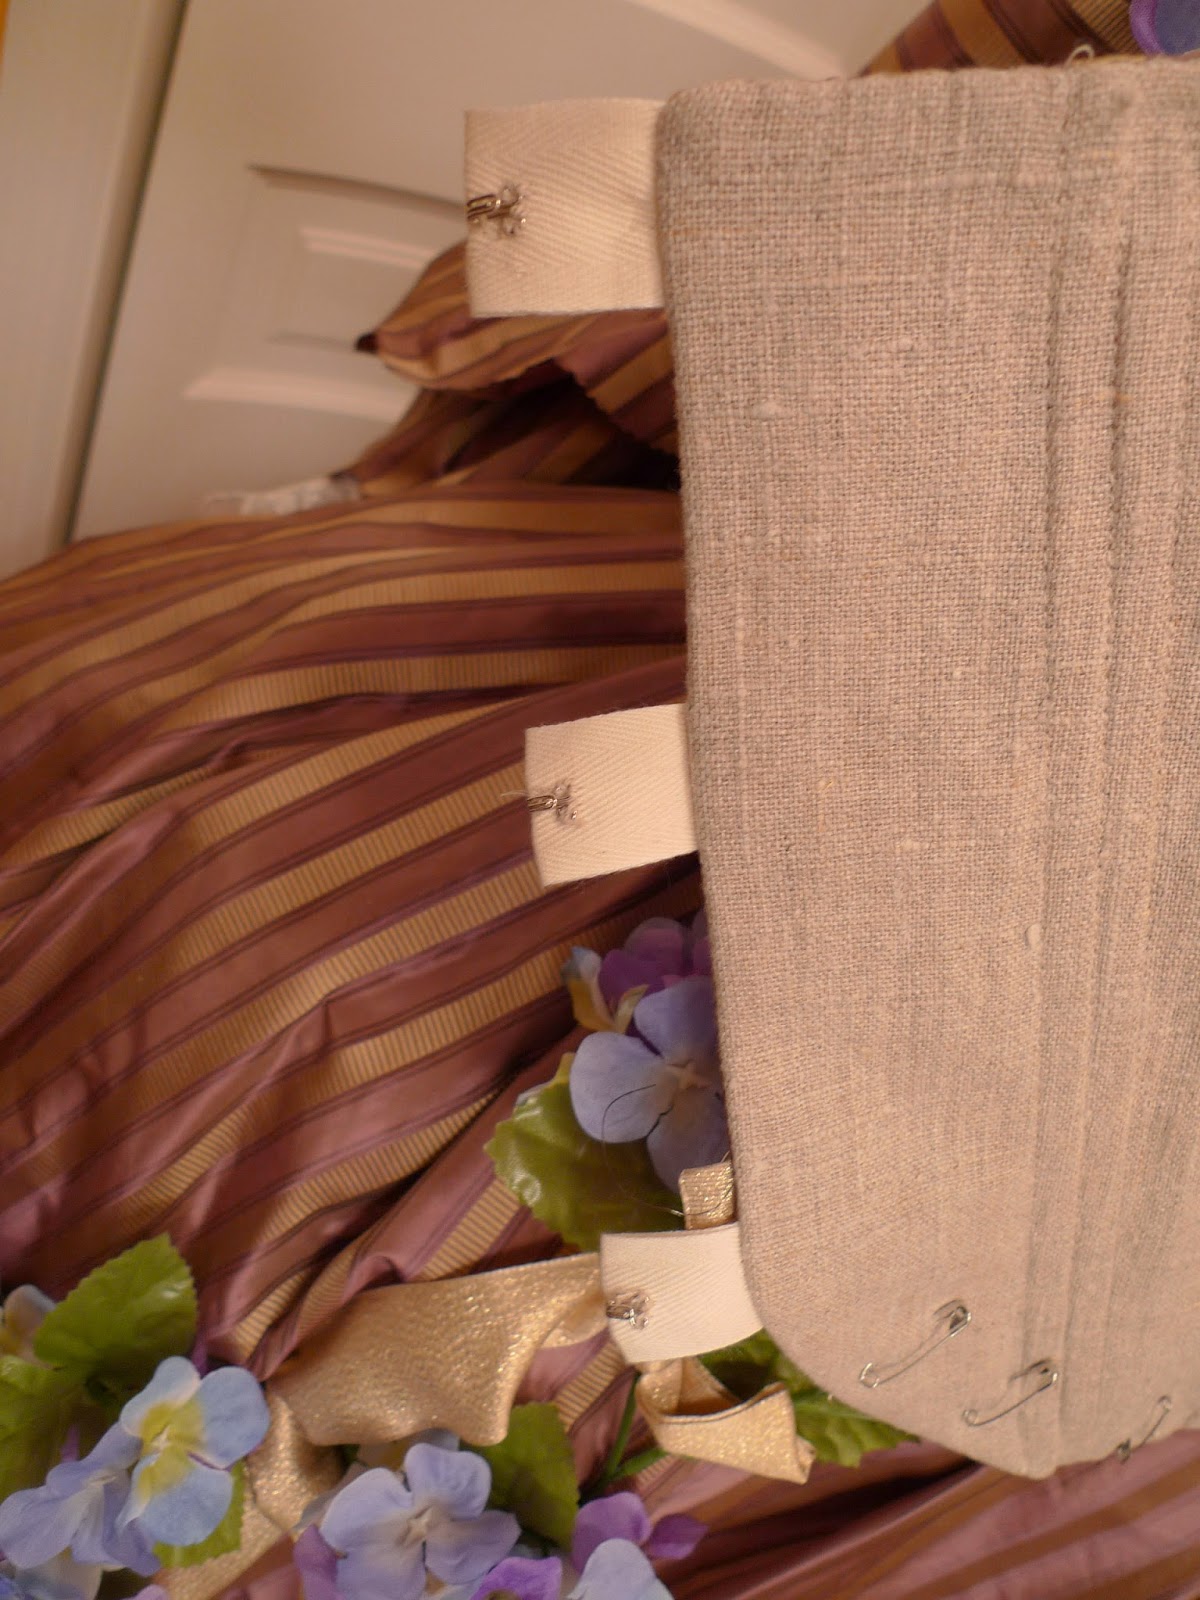
| The trimmings are plastic floral garlands and sprigs, creatively safety-pinned on. |
Because 1) I was in a hurry, and 2) I wanted to be able to get these garlands off easily later, everything is attached with safety pins.
 |
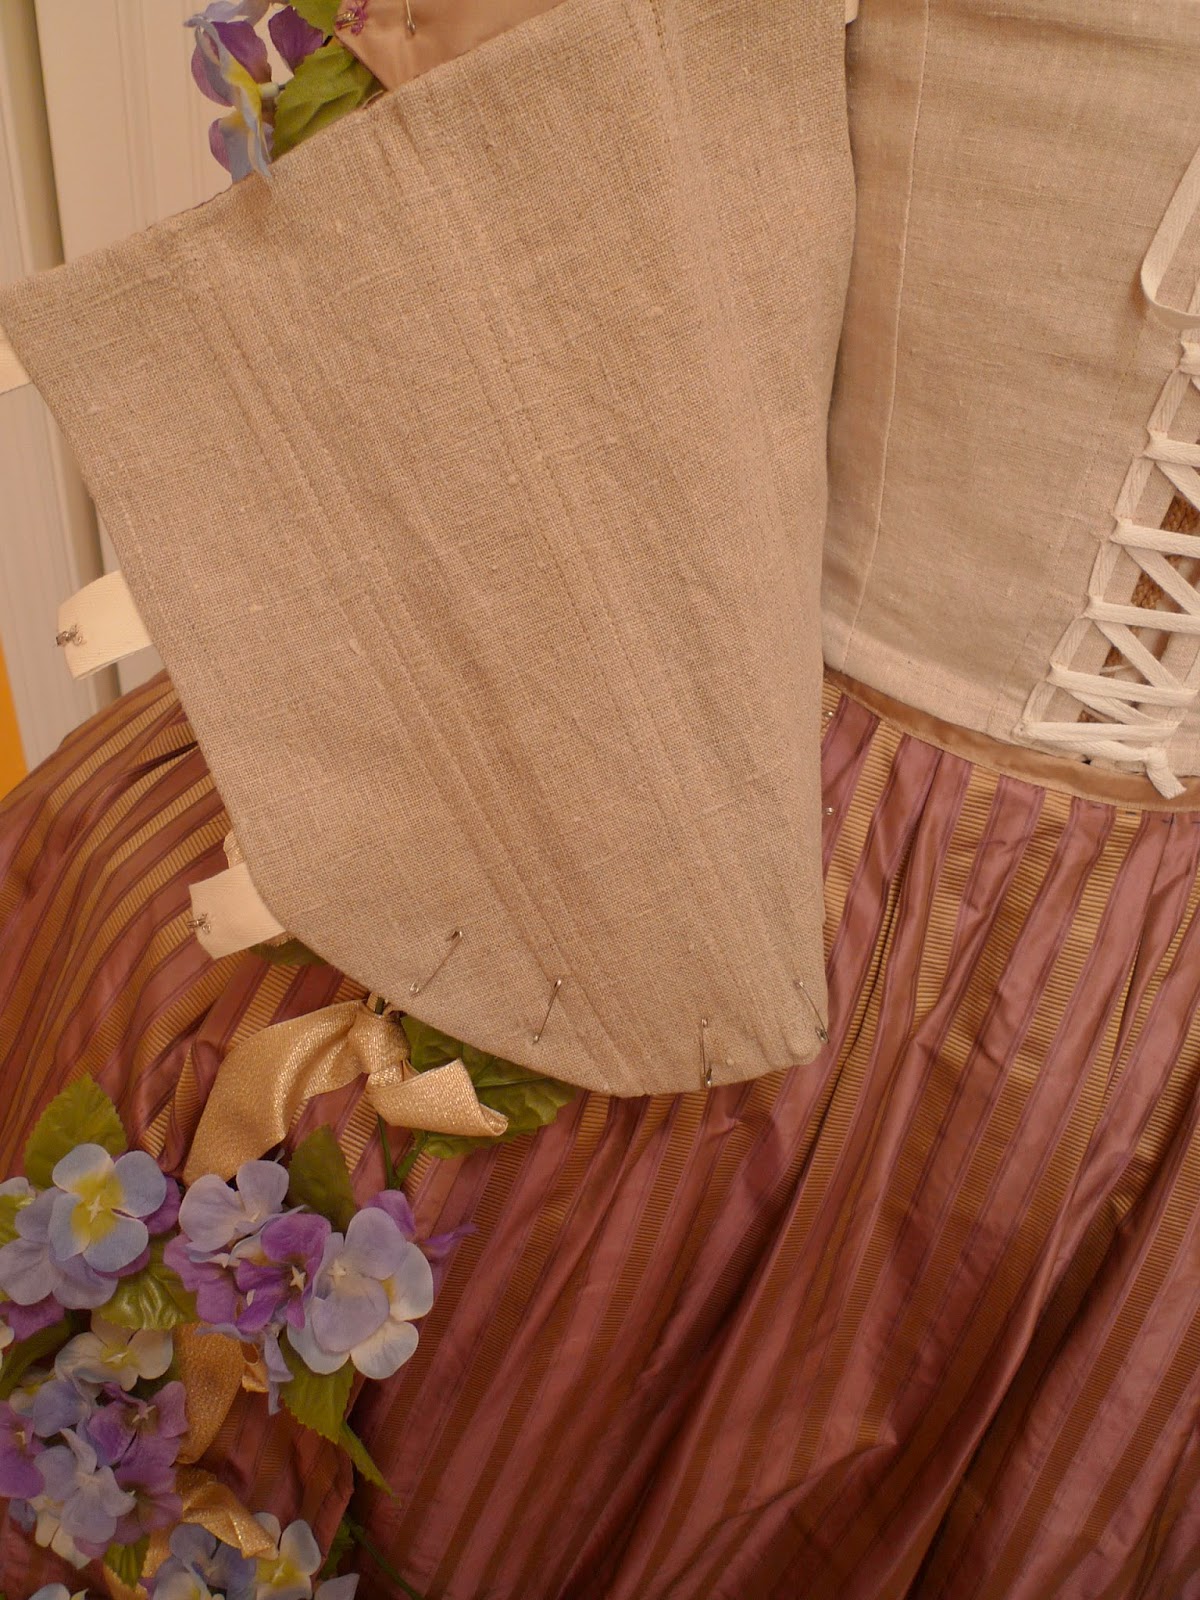
| The bodice front closes with two hook sand bars. |
 |
| The ribbon was safety-pinned also. |
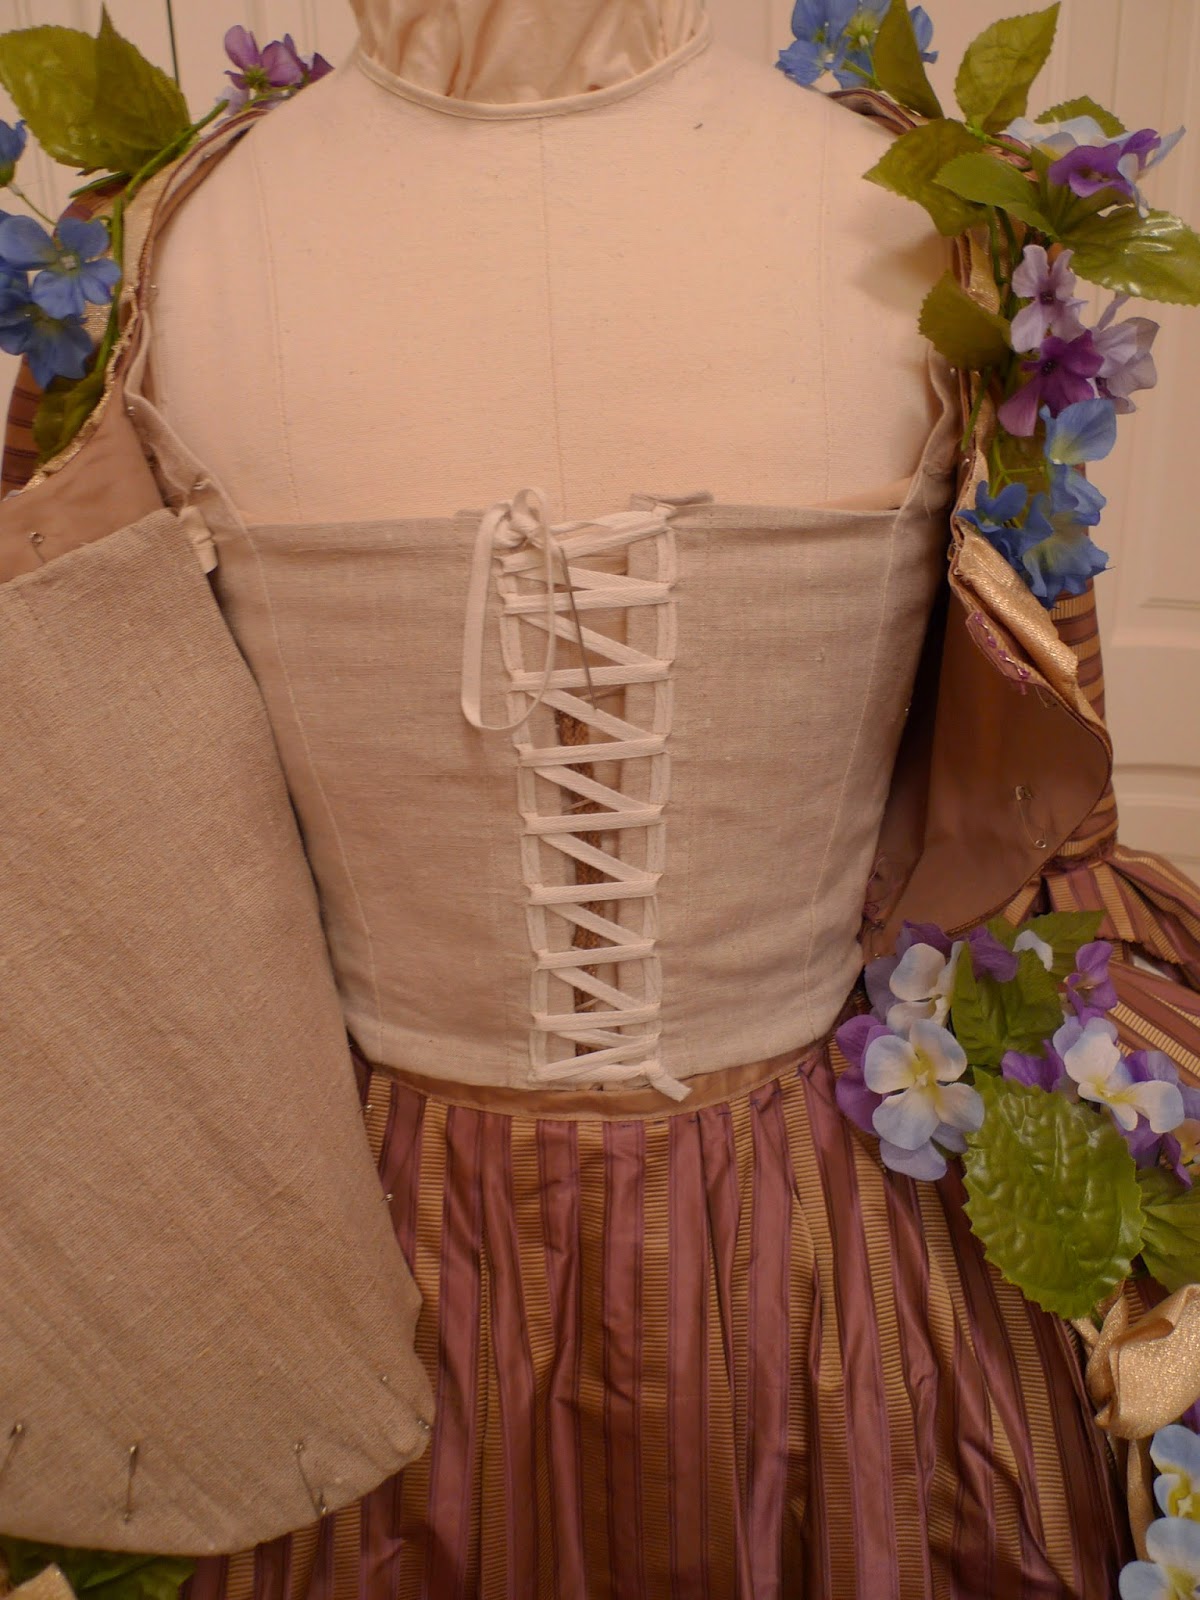 |
| The front laces under the stomacher, as according to the pattern. |
I also wanted to be able to get into it mostly by myself, so the stomacher is tacked on on one side, and attaches with hooks and bars on the other side.
 |
| The stomacher is tacked to the bodice on one side, and attaches with hooks and bars on the other side. |
Finally, I had wanted to make new sleeve ruffles, but...you know...ran out of time. So I put on my old faux-whitework sleeve ruffles.

 |
| My old faux-whitework sleeve ruffles finished the gown. |
I will some day finish the trims I had planned, as well as the sleeve ruffles (I'm going to attempt machine whitework on mesh). I've already taken all the trims off, now just need to find the time to finish the embroidery and get it stitched on.
I also styled a new wig for this outfit, and will have to do a post on it later.
Here's a few pics of the gown in action.

